

I started out with this. It's a nightstand that we found that was completely unfinished. We'd been using it for a while, just like it was, but I decided to fix it up to match my daughter's room decor!

I gave it a quick coat of primer, and then added a couple coats of pink spray paint. The color turned out different than I expected, and I was a little unhappy with it. It doesn't look too bad other than that, though!

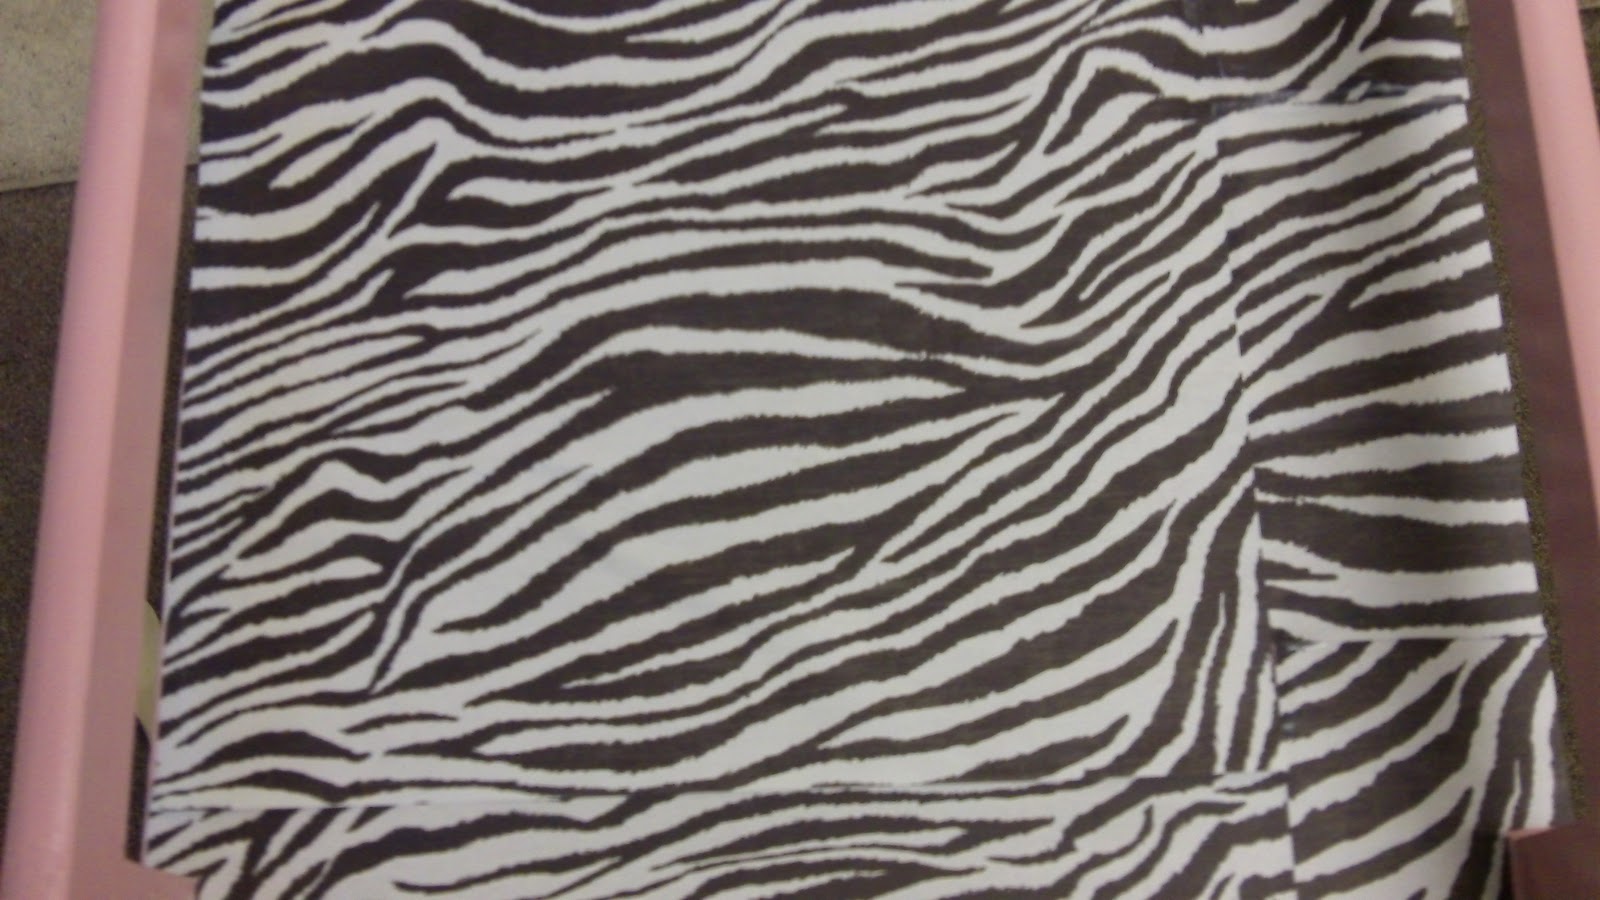
I didn't bother to cover the top with spray paint, I had other plans for it. MOD PODGE! That's right. I have this awesome zebra scrapbook paper, so I figured I'd do a zebra top!
I didn't have a single piece that was large enough for the entire top, so I had to kind of patchwork it. Not too shabby though, you can barely tell it was 4-5 different pieces of paper.

Next, I broke out the Mod Podge and a paint brush. Since I'm doing a large area, I used a large brush. Mod Podge tends to dry faster than you want it to when you're laying paper, and not fast enough when you're waiting for it to dry.

Doing it one section at a time, I slathered my table top with Mod Podge and layed down each piece.


You see that rock?! That's 100%.. fake. My fat preggo hands are too swollen, so I had to ditch my wedding band. Now it looks like I'm married to a millionaire. Yup, I got married to a millionaire for $8.88 at Walmart.
I found that I applied the Mod Podge just a little too thick, and it bubbled on me. :( I was able to salvage it though, and it didn't turn out too bad. This was before I'd done the top coat, too.
Make sure you let your Mod Podge dry COMPLETELY. Be patient. I've been a victim of Mod Podge impatience before. I nearly ruined a perfectly good picture frame because of my impatience. If you don't wait for it to dry completely between coats, it will bubble. So make sure it's dry! Then add another coat of the Mod Podge. It'll look kind of gross, but I promise, it'll dry clear.
Here's the finished product!

It's about time you got your hands on some Mod Podge!
ReplyDeleteAnd tell that billionaire to rub off on my hubby the next time I'm pregnant! ;o)
Oh, it looks great! I've never used mod podge...looks like it could be tricky, but you did a great job with it!
ReplyDeleteLove the ring too :-).
Great job! It turned out awesome!
Well done! I have been meaning to Mod Podge a small desk and have been procrastinating. You're inspiring. Thanks!
ReplyDeleteThat's really cute! It's amazing what Modge Podge can do!!
ReplyDelete-Kendall
{songbirdsandbuttons.blogspot.com}
soooo cute, love this. I may have to use this idea for my daughters room!! :) Thanks for sharing!!
ReplyDeleteNow THIS follows the scrapbook paper rule!! It turned out great!
ReplyDeleteThanks so much for linking up to Scraptastic Saturday!
Hannah @ http://youngancrafty.blogspot.com/
Love the zebra stripes on that piece. Thanks for the tips on mod podge, I'm one of the impatient ones....
ReplyDeletefound you at a little knick knack linky party.
Turned out great! Thanks for sharing another fun project on Thrilling Thursdays @ Paisley Passions.
ReplyDeleteAwesome! It's so cute!
ReplyDeleteOh wow, from plain jane to fabulous! I really can't get over how different it looks! Thanks for sharing with us at A Crafty Soiree! Please join us next time too!
ReplyDelete