I picked up some scrap fabric from Hobby Lobby, and had nothing to do with it. I just thought it was cute, and it was only a dollar, I figured I'd find something to do with it eventually! So I found my project. I made Emma a shirt! The fabric was only so wide, so I couldn't make the shirt as long as I wanted. I ended up modifying it after she wore it for the day. It was a little too short for my liking. So keep that in mind when cutting out your fabric.
I cut 2 pieces, the same size, in the shape of a parallelogram. Once you have that basic shape, cut out a spot for the arms, about 3-4 inches long, depending on the size of the shirt. Once you have that done, it should look like this.
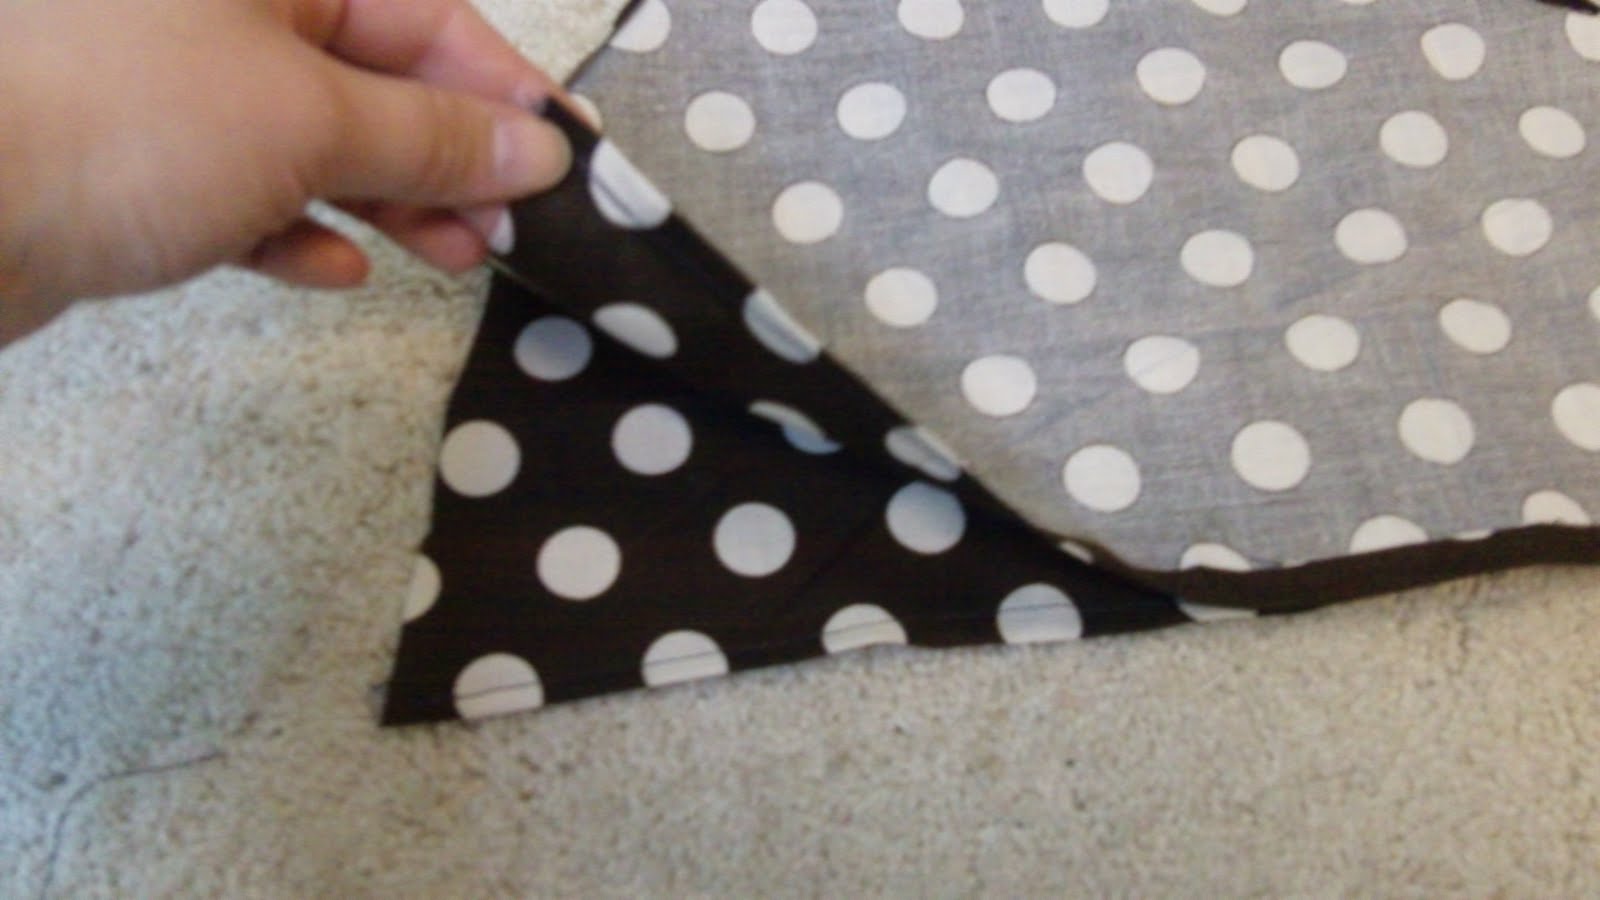
Next you need to sew your seams. These are the seams you need to sew. Do it on both pieces of fabric.
Next you need to make your "pocket" for the ribbon to go through. The size of the pocket will depend on the size of your ribbon. My ribbon was about an inch wide, so I folder my fabric over a little more than an inch and sew it.
Now that you have all your seams sewed, it should look something like this.
Next you need to sew the shirt together. Lay the 2 pieces of fabric with the pattern inside. In needs to be inside out so the seams don't show on the final product. Sew the 2 sides that don't have a hem.
Cut your ribbon to be as long as you'd like it. I made sure mine had about 8 inches on both sides for tying, so in the end it was about 21 inches or so. Cut your 2 pieces of ribbon to be the same size. Feed your ribbon in through the pocket you sewed. Make sure the pretty or patterned side is showing (mine was satin, so I had the shiny side up). I hate losing my ribbon in the wash, so I sewed mine in. I sewed one end into the shirt, following the seams that were already there. Then I scrunched the fabric a little so it would look nice, and sewed the other seam.
Once I had my ribbon sewed in both sides of the shirt, I trimmed it to make sure each piece was the same length. Next you need to hit the edges with a lighter to make sure they don't fray.
This was the final product that I had, notice it's a little short.
I wanted to make it longer, so I made a ruffle edge to add to the bottom. I didn't take any pictures of this part, so I'll have to sum it up the best I can. I cut out a piece of fabric that was quite a bit longer than the circumference of the shirt. Try making it twice as long if you can. Sew a hem along one edge of the fabric, this will be the bottom hem of the shirt when you're done.
Next you'll need to sew the stitch for scrunching. Use one of the looser stitches on your machine. Mine has a little guide to tell you what each stitch looks like. I used number 9 on my Brother brand machine. Make sure that you do NOT backstitch when doing this part. Back stitching ensures that the stitch doesn't come undone, and normally you would want this, but not for this part! When you sew the ruffle onto the shirt, it won't come undone.
Sew the loose stich all long the opposite side as your hem. This is the part that will end up attaching to the bottom of the shirt. When you cut your thread from the machine, make sure to leave at least an inch. Pull one piece of the thread while pulling the fabric in the opposite direction. This should make the fabric scrunch up. Do this to the entire strand of fabric. Once you have it completely scrunched, adjust it to be as long as the circumference of the shirt. I find the easiest way to do this is to pin and adjust as I go. Now that you have that done, all you need to do it sew it on! Make sure the un-hemmed side of the ruffle is under the hem of the shirt and not showing. You'll need to sew together the 2 ends of your ruffle so they blend in with the seam of the side of your shirt. The end result?


No comments:
Post a Comment