Showing posts with label Crafts for Kids. Show all posts

Saturday, August 20, 2011

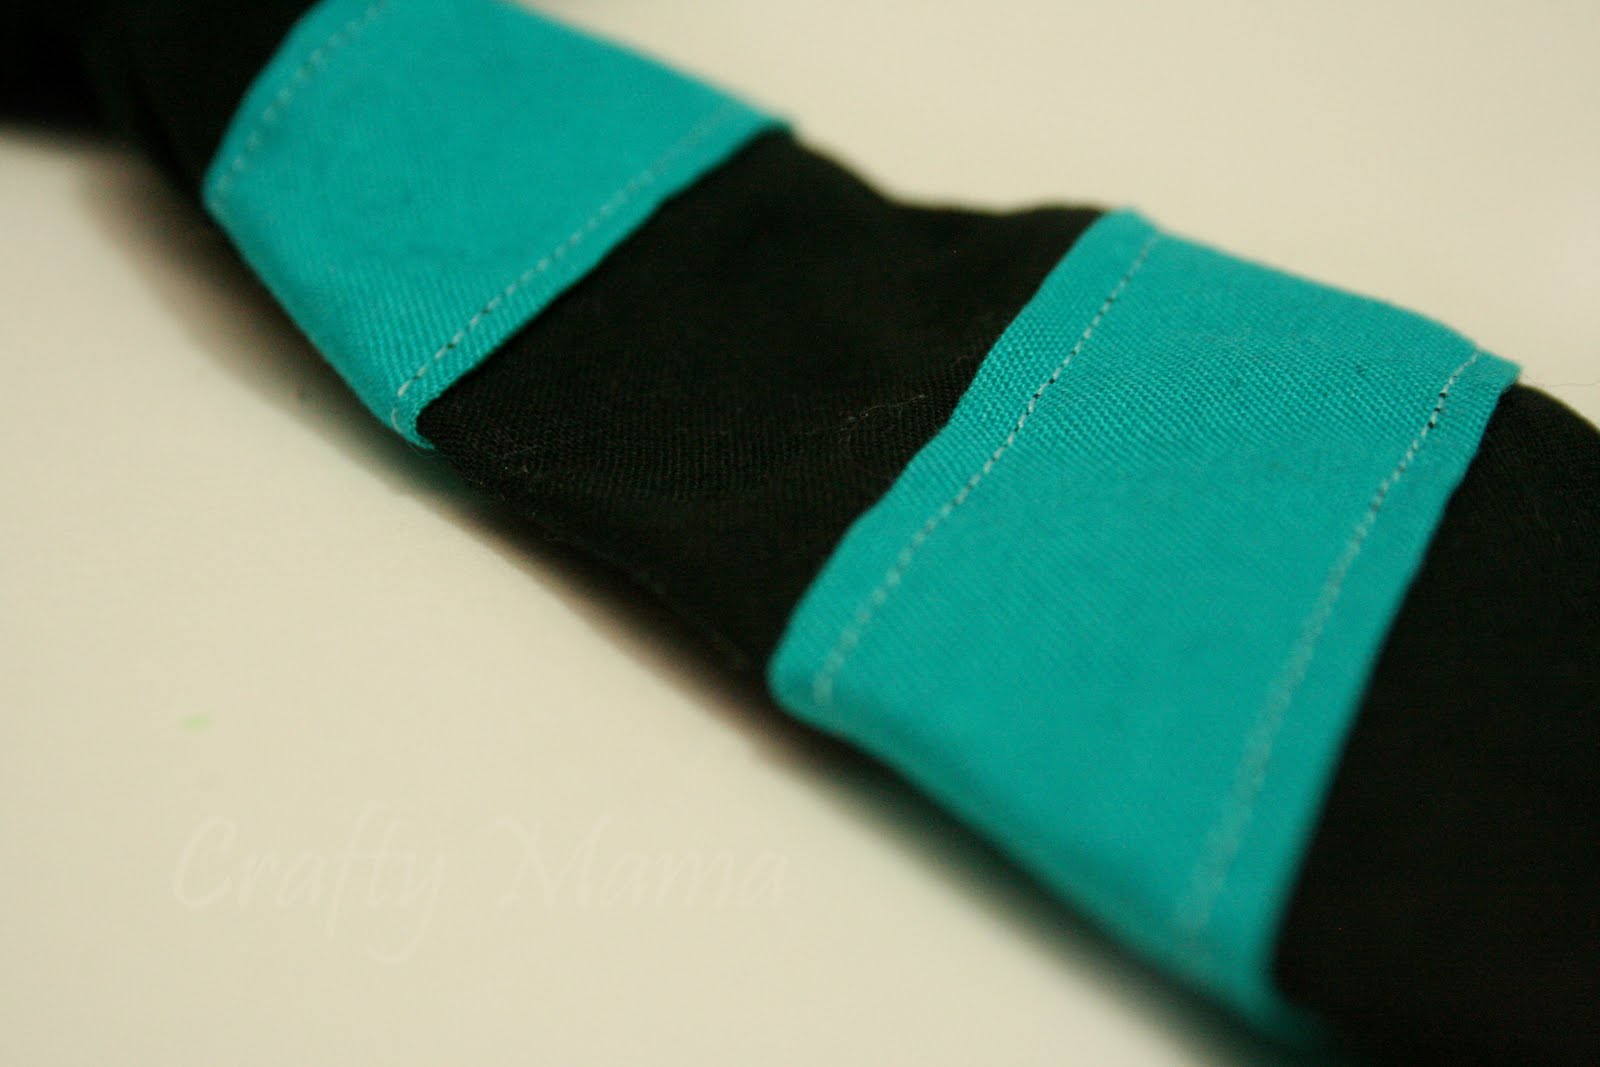
Little Guy Tie


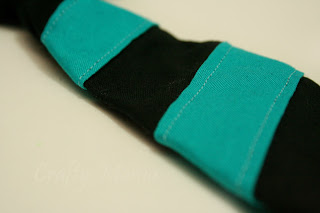
I went searching for a kids tie pattern online last week and this is the one I found over at Very Homemade. Her instructions were great, with fabulous step by step pictures! All together a great tutorial! 
I love the way it turned out, Charlie is such a stud muffin in his little guy tie! I can’t wait to make some more for him!
To get the stripes, I just cut out 3 long pieces of the turquoise fabric, ironed the sides under, and sewed them on diagonally before sewing the tie together.

I found it very helpful to iron each of the pieces between steps.
Here’s some more pictures of my little stud!


Hey look, mom, it's a chew toy!


This is my Clark Kent look.

Saturday, July 23, 2011

More sparkle toes!

I was looking through some old pictures of Emma, and I found lots of pictures of our pretty painted toes! I just though I'd share on here what cute possibilities there are for Sparkle Toes.

Such cute pudgy baby toes!
There's no place like home, there's no place like home..

Wednesday, July 13, 2011

Sparkle Toes!

I can't remember where I found this tip, but I love doing my toes like this! It's incredibly easy.
Choose your nail polish color and glitter color. They should be close to the same color (I've never tried contrasting colors, but who knows how it could turn out?)
Paint a base coat on your nail and wait for it to dry.
Set up a work station. You'll need either a paper plate or a sheet of paper. 
Place your foot on your work station.
One at a time, paint your nail, and sprinkle LOTS of glitter on it. Make sure to get every corner!
Pat down the glitter with your finger so it lays flat and sticks to the nail.
When all your nails are done, brush off excess glitter from your skin.
Pour excess glitter back into the container.
It's a little bit messier than a normal manicure/pedicure, but I love the results! So sparkly for summer!

Sunday, June 5, 2011

Making Ruffled elastic lace

A little while ago I saw a tutorial on making a petti-romper. I priced out the elastic lace in the store, but it was quite a bit more expensive than I expected. But that's okay, because I was reunited with my old friend, elastic thread.
Have you met elastic thread? We were introduced about a year ago by a mutual friend. It was fireworks from the start.
Unfortunately, I eventually ran out of elastic thread, and couldn't find it in any stores. I checked Walmart, they were out of stock. Every. Week. There was a place on the shelf for it, they just didn't stock it. I checked Hobby Lobby. The ladies there didn't even know what I was talking about! After months of off and on searching, we were re-united in one of the larger Joann's over an hour away. I bought 2 packages, just to be safe.
There's so many fun things you can do with elastic thread. I probably don't even know half of them. But I do know that you can shirr (I've got a shirred dress on my list of tutorials to do!), ruffle fabric, ribbon, lace, ect., and make ruffled sleeves. And it's all just as easy as SEWING A STRAIGHT LINE. Yup. Alright, here we go.
To make elastic lace:
Thread your bobbin with the elastic thread. You can do this on your machine, the same way as any other bobbin.
On a spare piece of fabric, lace, or ribbon, experiment with different tensions to see which one will work the best. I turned my tension all the way up for the lace. It seemed to work best with my machine. 
Position your lace so that your needle is lined up with the straight side of the lace.
Sew a straight line. No need to back stitch.
Easy, right?
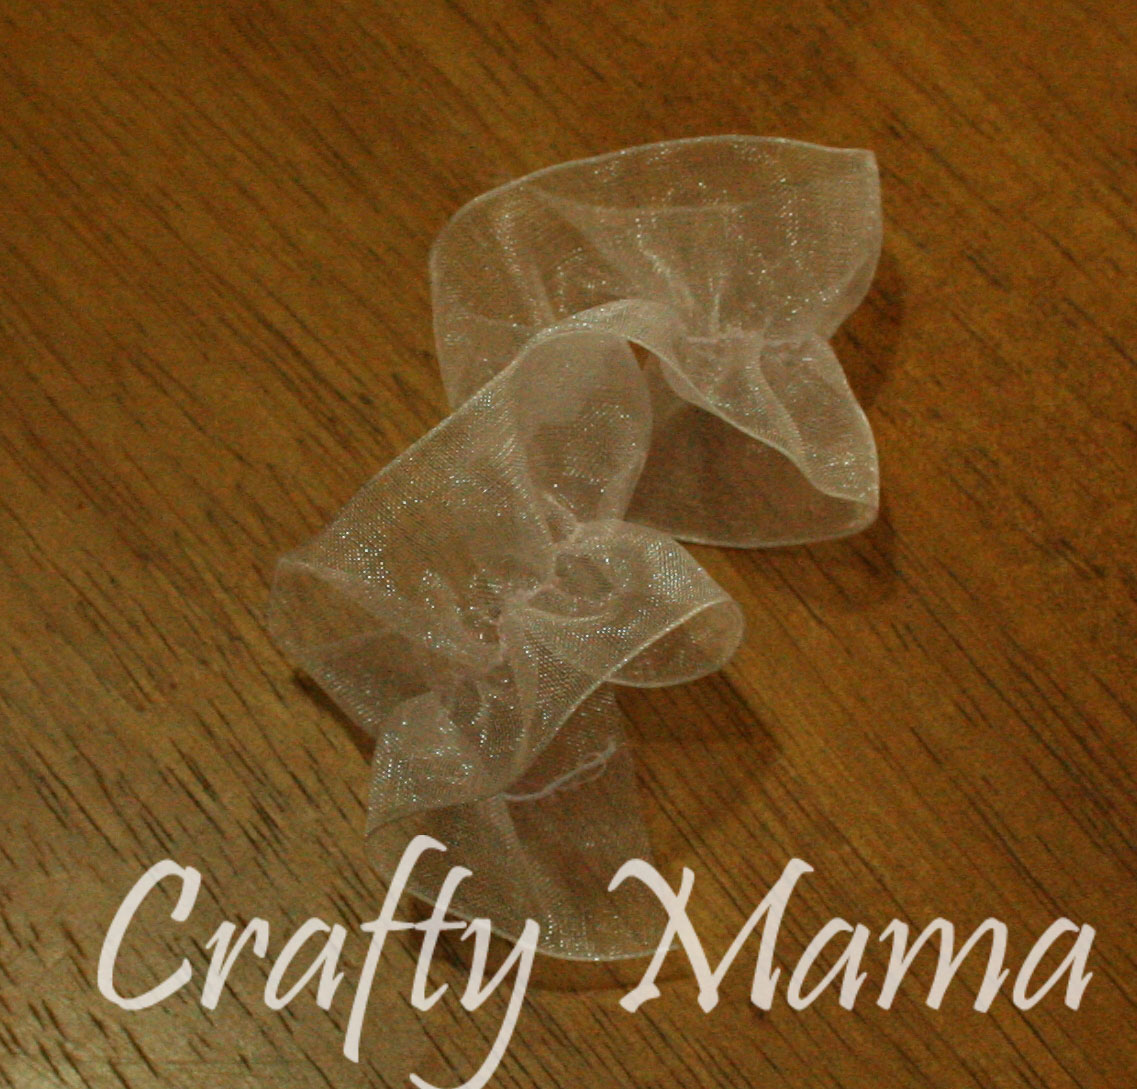
You can also do this to ruffle ribbon or fabric. 
Isn't that so much easier than the normal way to make a ruffle? And I love how stretchy it is. With a normal ruffle (done by pulling one of the threads and gather the fabric), there's a huge risk of the thread snapping if you put too much pressure on it. This is nice and flexible. I can't wait to find out how else I can use elastic thread. What have you made with it?


P.s. I love the view from my sewing machine! ;) 

Saturday, May 21, 2011

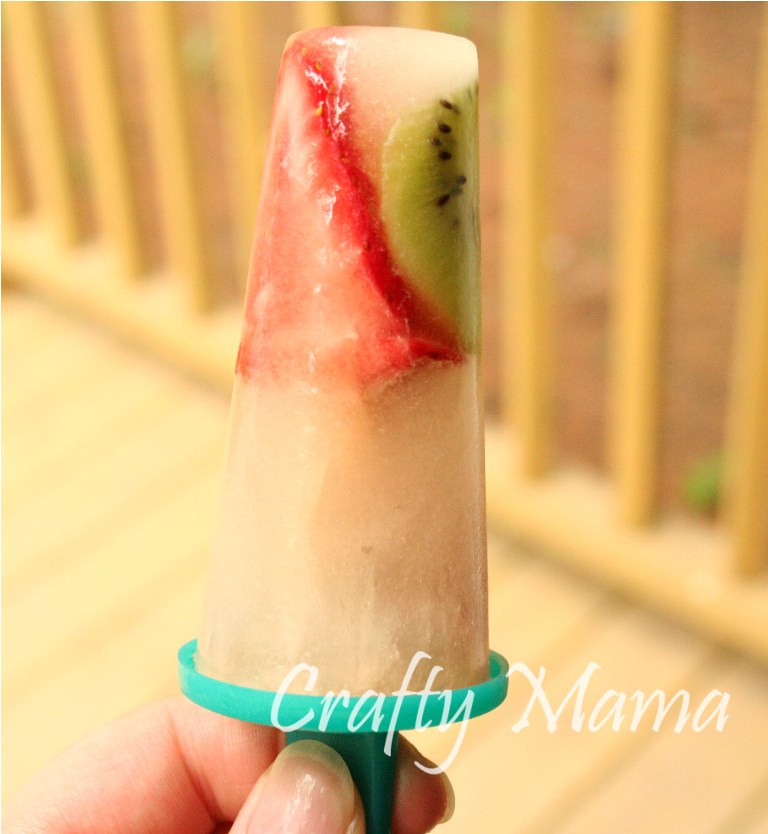
Strawberry Kiwi popcicles

What you'll Need:A combination of fruits
Juice or 7 up (or a mix) I prefer the white grape or apple

Cut up your fruit and drop it into your popcicle molds. Fill the molds with your chosen liquid, put the tops (or sticks) in place, and freeze.
You can also pack ice cream into your molds to make fudge cicles, or use yogurt and fruit. The combinations are endless!

Tuesday, May 10, 2011

Ribbon Chandelier

I finally got around to making that Ribbon Mobile that I saw over at Between U & Me. What do you think?

Monday, April 11, 2011

Easter Eggs

Eggs
Vinegar
Food coloring
Rubber cement
Vegetable oil

Start out by hard boiling your eggs. It's best to NOT use new eggs. Most times when you buy eggs from the store, they haven't been sitting on the shelf long. So make sure they sit in your fridge for about a week or so. If they're too new and you hard boil them, they won't peel very nicely.
Put your eggs in a pot and cover them with 1-2 inches of cool water. Put them on the stove on high.
Once your eggs have come to a boil, turn them off and let them sit for 15-20 minutes (it really doesn't matter too much, I accidentally left mine for about 40 minutes while I showered, and they turned out fine). 
Fish your eggs out of the hot water and place them in a bath of cold water. You might need to switch it out once for more cold water.
Once your eggs have cooled, you need to prep them for dying. 
Take your rubber cement and a paintbrush. 
This is the fun part! Make all sorts of designs on your eggs with the rubber cement. I zig zagged it across the eggs, swirled it, did polka dots, ect. You could even write names! Get your designs done, and give them at least 30 minutes to dry.
You need to use HOT water for your food coloring, so it's best to boil it. Once your water has boiled, mix your water and vinegar. You need 1 tsp of vinegar for every cup. I poured myself 2 cups of hot water, added 2 tsp of vinegar, and then distributed it evenly into my 3 cups. You don't want to fill your cups too full, because they may over flow when you put your eggs in them.
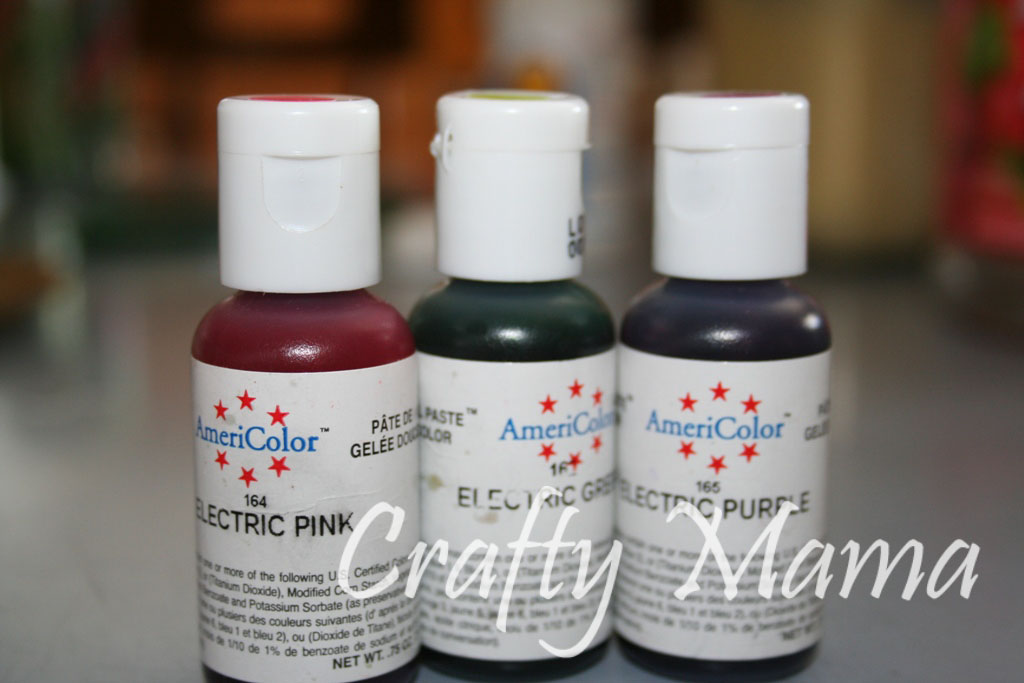
If you don't have the cool little color tablets that come with Easter egg kits, you can use plain food coloring. I used some leftover gel food coloring from Emma's birthday cake, electric pink, green, and purple.
Add enough food coloring to each cup to get a nice rich color. 
Dip your eggs in your colors, checking on them every 10-15 seconds to see what color they are. When they're the color you want, pull them out with a spoon. 
Lay them on your drying rack or paper towel. I used a cookie sheet with a cooling rack on top.
Once your eggs are mostly dry, wipe off the bottoms with a paper towel, and rub off the rubber cement. To get a shiny look to your eggs, rub them with vegetable oil.
To get the marble effect on your eggs, add about a tsp of vegetable oil to your colored water. When you dip your egg in, the vegetable oil will coat parts of the egg, and keep the color off them. The key here is to dip the egg in, and leave it there, don't check on it! I made that mistake with a couple of my first eggs, and they came out barely marbled. Let dry, and wipe clean with a paper towel.
This was such a fun project to do! I loved the effects on the eggs, and they turned out so CUTE! I actually think I'm going to do some more before Easter, maybe trying out some more effects.

Tuesday, December 28, 2010

Pacifier/toy clip

With a new baby coming (just around the corner!) and a toddler too, I was thinking I'd be needing some toy clips. We don't normally use pacifiers, but they can be used for that, too. All you'll need is ribbon, a clip, and velcro or snap pliers. Metal or plastic snaps would work fine. I made 2 different toy clips. One has snaps on both ends, so I can snap it around a toy, and the other end can be snapped around the handle of a carseat or stroller. I made it with 2 different snap adjustments on each end. The other one I made with snaps on one end, and a clip on the other. That way I can clip it to the baby's shirt and snap the other end around the toy's handle or pacifier. Here's some pictures, they're pretty self explanatory.