
This next project I saw on another blog. Here's the link. A Place For Us: Tufted Serving Tray
Since I did mine a bit different, I want to share it!
Tufted Tray

Supplies needed:
Tray
Cardboard
Cotton stuffing
Enough fabric to stretch over the padded cardboard and wrap around back
A sturdy needle with thread
Hot glue gun
Beads or rhinestones (optional)
Ribbon (optional)
I found this cute little tray at a garage sale for $1. Since I'd seen the tutorial I just KNEW what I was going to do with it right away.

The wood was in pretty good shape, and it was a good color, so I decided not to paint it. I hope to find another one of these cute trays, I'm thinking a white tray with a zebra pad, and maybe pink ribbon? CUTE!
Alright, so you take your cardboard and cut it to fit inside the tray. You want it just slightly smaller so it'll fit once it's covered.

Lay your cotton stuffing on top of the cardboard and get it as smooth as you can. You don't want bulges in weird places. You shouldn't need much cotton for this. If you want a more dramatic affect, use more cotton.

Take your fabric and stretch it across the cardboard. Pull it tight on the back and hot glue it there. Do the same with the ends. You'll want to wrap it like a gift. Make sure the back is well secured with hot glue.
Note: Both Joannes and Walmart sell fabric squares that are about 20 in. by 20 in. If you don't want to spend the money for fabric on the bolt, it's perfect for this project.

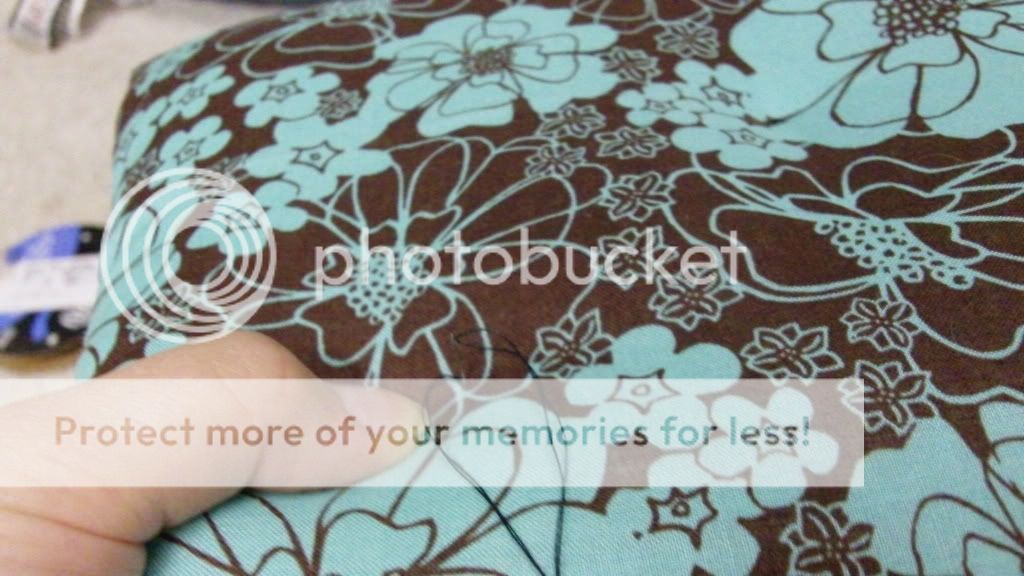
Take your needle and thread it. I chose not to use the ribbon and beads, mainly because I didn't have any really cute ribbon or a really large needle on hand. Mark out the spots where you want to sew. I did 5 spots. Starting in the back, sew back and forth at least 4-5 times. This will pull the fabric tight in the front and create the tufted appearance. Snip the thread in the back. (If you plan to use ribbon and beads, check the tutorial listed at the top for instructions).


Fit it into the tray, and look at how cute it is!

No comments:
Post a Comment