
Alright, my first tutorial! You'll find that most (okay, all) of my sewing is without patterns (SWAP). These will probably be the most POINTLESS tutorials you'll find on my blog; some of them will be helpful, some not so much. I'm still very new at sewing, but I find that it's easier just to "wing it" than to go searching for a pattern for something when I know what it looks like in my head. I'll try my best to include instructions for cutting out your fabric to be the proper size. In the case of the dresses I've sewn for Emma, I don't know if I'd find a pattern identical to what I want. Lucky for you, only a portion of my tutorials will be on sewing. Today's tutorial should be spot on though, there's not a whole lot of measuring, and there's no need for a pattern.

DIY: Zebra and Pink Dotted Minky Baby Blanket
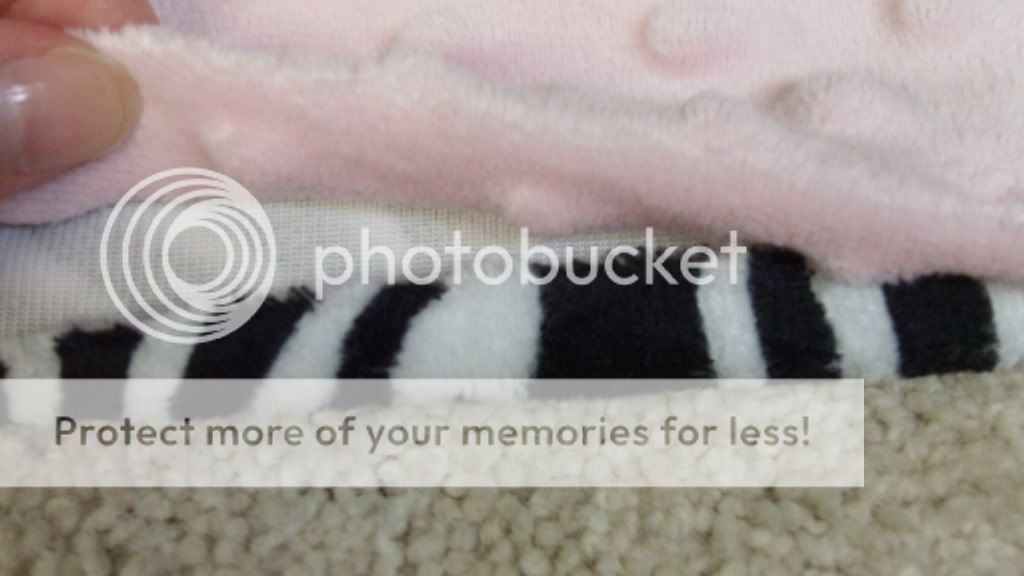
I started off with 2 fabrics. I had some pink dotted minky leftover from a pillowcase I made for Emma, and wanted to use up the scraps. It was about 2ft by 2 ft. I bought some soft zebra fabric to go on the other side.


Meaure your fabric to be the size you want. I made my 2 ft by 2 ft because that's what the scraps I had were. Any size should work just fine though. Since this blanket is for my 15 month old daughter, 2x2 is a perfect size!
Pin your fabric together inside out. You'll be sewing it this way, and turning it right side in before you're finished. You want to leave enough room so you don't hit the pins with the sewing needle. I put mine about 3/4 of an inch in from the edge of the fabric.

Sew 3 of the 4 sides of the fabric together. I used one of the tighter stitches my machine has to offer.

When you get to the 4th side, stop sewing when you're about 6-8 inches from where you started. You need to leave room to turn it. Once you've finished sewing that much, remove all the pins and turn it right side in.

Now that the blanket is turned right side in, you should have a gap in it. Fold the hem in to sew. You might want to pin it if it doesn't want to stay put. You should overlap your sewing a little so you don't end up with a gap in it, like mine did, woops!
Here's the finished product!

No comments:
Post a Comment